Homebrewed doboroku (sake)
I've been brewing beer for a while and have gotten comfortable with the process, so I started looking into new fermentation experiments to try. I had my eyes set on sake for some time, but the process seemed too daunting. That was until a friend mentioned doboroku, a farm-house style sake that is super easy to brew. Doboroku is fermented in just one step at room temperature. In contrast, the traditional sake brewing process involves many fermentation steps and precise temperature control. That might sound too good to be true, so bear in mind that doboroku is a different drink from sake. It's much less refined and doesn't have the same complexity you would expect from sake.
Full disclosure, I never tasted real doboroku before, only the stuff I made at home, so take this into account. What I describe here definitely not historically accurate, and that's not my aim either. The process was also adjusted a bit, taking inspiration from brewing beer.
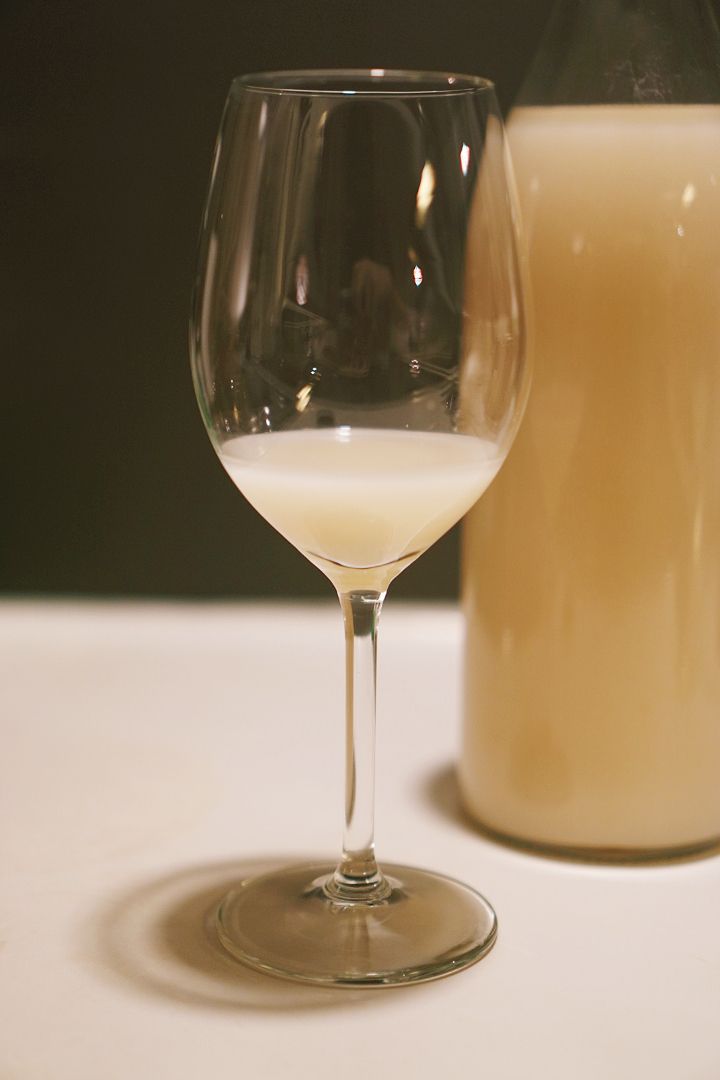
The end result differs quite a lot from what you'd expect from sake. There's a strong presence of alcohol, and it can be a bit harsh, especially when fresh. The alcohol and the taste both get better and rounder over time though. With a small cube of ice it becomes a really nice drink.
The process of making doboroku is super simple. You don't need any previous experience in brewing, and it requires minimal equipment and time. I used the recipe from this blog - Oryzae Wonderland. All you need is short-grain rice (sushi rice), water, yeast and koji rice (or koji spores if you're up for doing an extra step). Out of these, koji rice is the hardest to come by. Try looking in your local Asian supermarket or in online shops. Alternatively, It's possible to make it yourself, but then you need to find koji spores, and the process gets a bit more involved (the recipe is on the linked blog as well).
I made two changes to the recipe. Most recipes mention that you should drink it soon after it's done fermenting as otherwise, it will start getting too sour. This is why I decided to sanitize everything, the same as when brewing beer. This worked really well, as there was no sourness even after a couple of months in the bottle. The second change is that I used beer brewing yeast over bakers or sake yeast. Most ale yeasts prefer room temperature for fermentation, so there's no need to have a cool basement. I also fermented it in a small bucket with an airlock on, so the bacteria in the air couldn't reach it and turn it sour.
Process
- Soak the sushi rice (not koji rice) in a bowl of water overnight.
- Drain the rice in a colander and leave sit for a bit.
- Steam the rice. You can use a colander above a pot of boiling water. Don't steam it for too long so it doesn't get mushy, about 40 minutes should work well. The rice should be chewy.
- Wait for the rice to cool close to room temperature.
- Mix the steamed rice and bottled water and place it in the fermentation vessel.
- When the mixture has cooled down to about room temperature, add the koji rice and the yeast and mix well. The grains of rice should be completely separated.
- Put an airlock on the bucket if you're using one. If you're fermenting in a jar, make sure it's not completely closed, just covered, as pressure build-up will explode it.
- Leave to ferment for 10-12 days at room temperature.
- Filter the sake. A sieve and a cheesecloth work well.
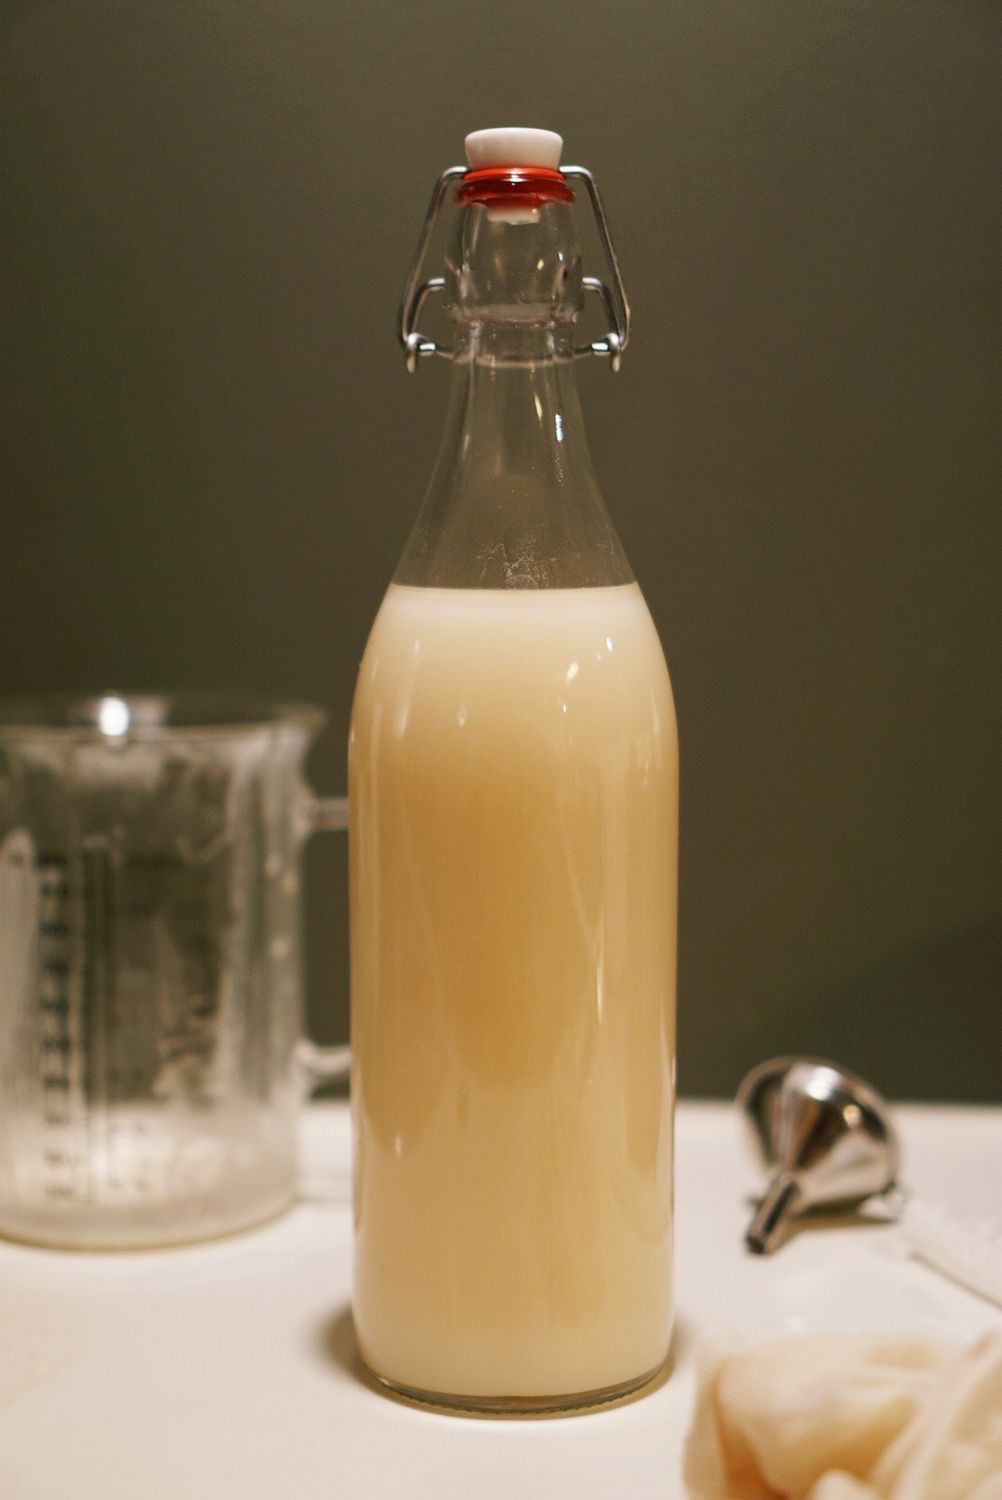
- Put it into plastic bottles and store in the fridge.
A note on sanitation - first of all, you don't need to sanitize, I just chose to do it to avoid the sour flavors. It's real easy, you just need StarSan or a similar sanitizer from your local homebrew store. Follow the instructions on the bottle, but basically, you mix a small amount of the sanitizer with water and then simply dip the utensils in it. Anything that touches the soon to be doboroku after steaming should be sanitized (your hands, bucket, sieve, bottles, ...). You don't need to sanitize things before the steaming as the boiling water and steam will take care of that.
My brew log so far:
Batch 1
Ingredients:- 500g sushi rice(soaked overnight)
- 150g dry koji rice
- 0.7L bottled water
- 1/2 teaspoon US-05 brewer's yeast
Taste notes:
- day 7: Smells like sake! Warming alcohol on the front, sweet aftertaste, very clean in general.
- day 9: Still a strong presence of alcohol, but the aroma has hints of banana and dry fruit.
- day 11: Drier than before and very alcoholic, strong aroma of banana and ripe fruit. The clear liquid has a clean taste, but mixed with the cloudy part is harsher.
- month ~1 to month ~3: The harshness and alcohol are subsiding over time, the banana aroma has remained, but the ripe fruit aroma mellowed out. Really nice to drink!
It definitely tasted better the older it got. I liked it best chilled with maybe a small piece of ice. It was hard to believe how strong the banana aroma was, given there's no banana in it, fermentation is magic. The banana aroma is most probably due to the yeast being stressed, US-05 is not comfortable fermenting to such a high alcohol content.
Batch 2
Ingredients:- 1kg sushi rice (soaked for 8h)
- 300g dry koji rice
- 1.5L bottled water
- 1/4 teaspoon yeast nutrition (can skip)
- 1/2 teaspoon LalBrew Voss Kveik (Norwegian farmhouse yeast)
Taste notes:
I didn't taste it during fermentation this time. The end result was great. Instead of a banana aroma, there was a strong aroma of canteloupe this time, but it had some astringency. Same as for the first batch, I think drinking it chilled with a small piece of ice was best.